The short answer
For a 20-foot indoor mini-light strand you handle once a year, cut a cardboard rectangle, notch both ends, and wind. It works, it is free, and we would rather tell you that than sell you a reel you do not need. Buy reels for heavy outdoor strands, for strands you handle often, and when you want a container with slots so the reels stay put.
Why we are saying this
This site earns a commission when you buy a light reel through one of our links, so an honest reckoning of when you should not buy one is worth stating plainly. A large share of searching in this category is for free methods — cardboard, coat hangers, wrapping paper tubes — and dismissing all of it would be dishonest.
The mechanism that prevents tangling is one strand per space. Cardboard achieves that. What it does not achieve is durability under load, and that is the whole of the real argument for a bought product.
The free methods, honestly rated
DIY light storage methods and what each is actually good for| Method | Works for | Fails at | Verdict |
|---|
| Cardboard rectangle, notched | Indoor mini strands to about 50 ft | Heavy C9 sets; notches tear after a few seasons | Genuinely good |
| Wrapping paper tube | Short indoor strands | Crushes under any weight | Fine if nothing stacks on it |
| Wire coat hanger | One short strand | Strand slides off the ends | Workable, not great |
| Coiled and tied by hand | Anything, briefly | Coils interleave in a shared container | Only if each coil is bagged separately |
| Loose in a box | Nothing | Everything | This is the problem, not a method |
The cardboard reel, done properly
- 1
Cut a rectangle from a stiff box
Roughly 8 by 12 inches from corrugated cardboard, with the flutes running the short way so it resists bending along its length.
- 2
Cut a notch in the middle of each short end
About an inch deep and just wider than the wire. Two notches, one at each end.
- 3
Tuck the plug into one notch
Plug end first, same as with a bought reel, so it comes off last next year.
- 4
Wind around the long axis
Even, light tension. The cardboard's width sets the coil diameter, and 8 inches is generous enough to avoid tight bends.
- 5
Tuck the tail into the other notch and label it
Write the run and the length straight onto the cardboard, which is one thing cardboard does better than a molded reel.
Where the free version fails
Weight. A 100-foot C9 strand wound onto corrugated cardboard folds it. The cardboard bows, the coil loosens, the strand slips off. This is the clearest case for a molded reel, and specifically for the metal ones.
Repetition. Notches in cardboard tear. Two or three seasons is realistic; after that you cut a new rectangle, which is not a hardship but is a small annual chore.
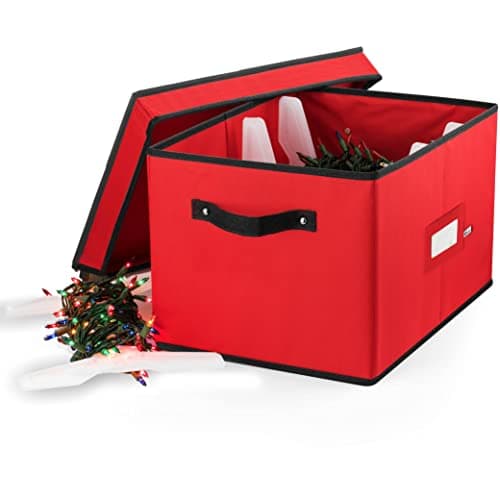
The container. A bought reel set comes with a bag or box with slots, so the reels do not roll around and unwind. Cardboard reels in a plain box slide against each other, and a slipped coil is a tangle again. If you go the free route, stand them upright in a box that fits them snugly.
The arrangement we would actually use
Cardboard for the short indoor runs — windows, mantel, stair rail — and bought metal reels for the tree and anything exterior. That covers the heavy strands with the right hardware and spends nothing on the light ones.
Then everything goes in one container with slots, because the container is what stops the reels moving. A four-reel bag publishing 60 feet per reel takes the bought reels and the cardboard ones sit alongside. Per-reel figures are on the strand count page, and the winding technique is the same either way — see tangle-free storage.